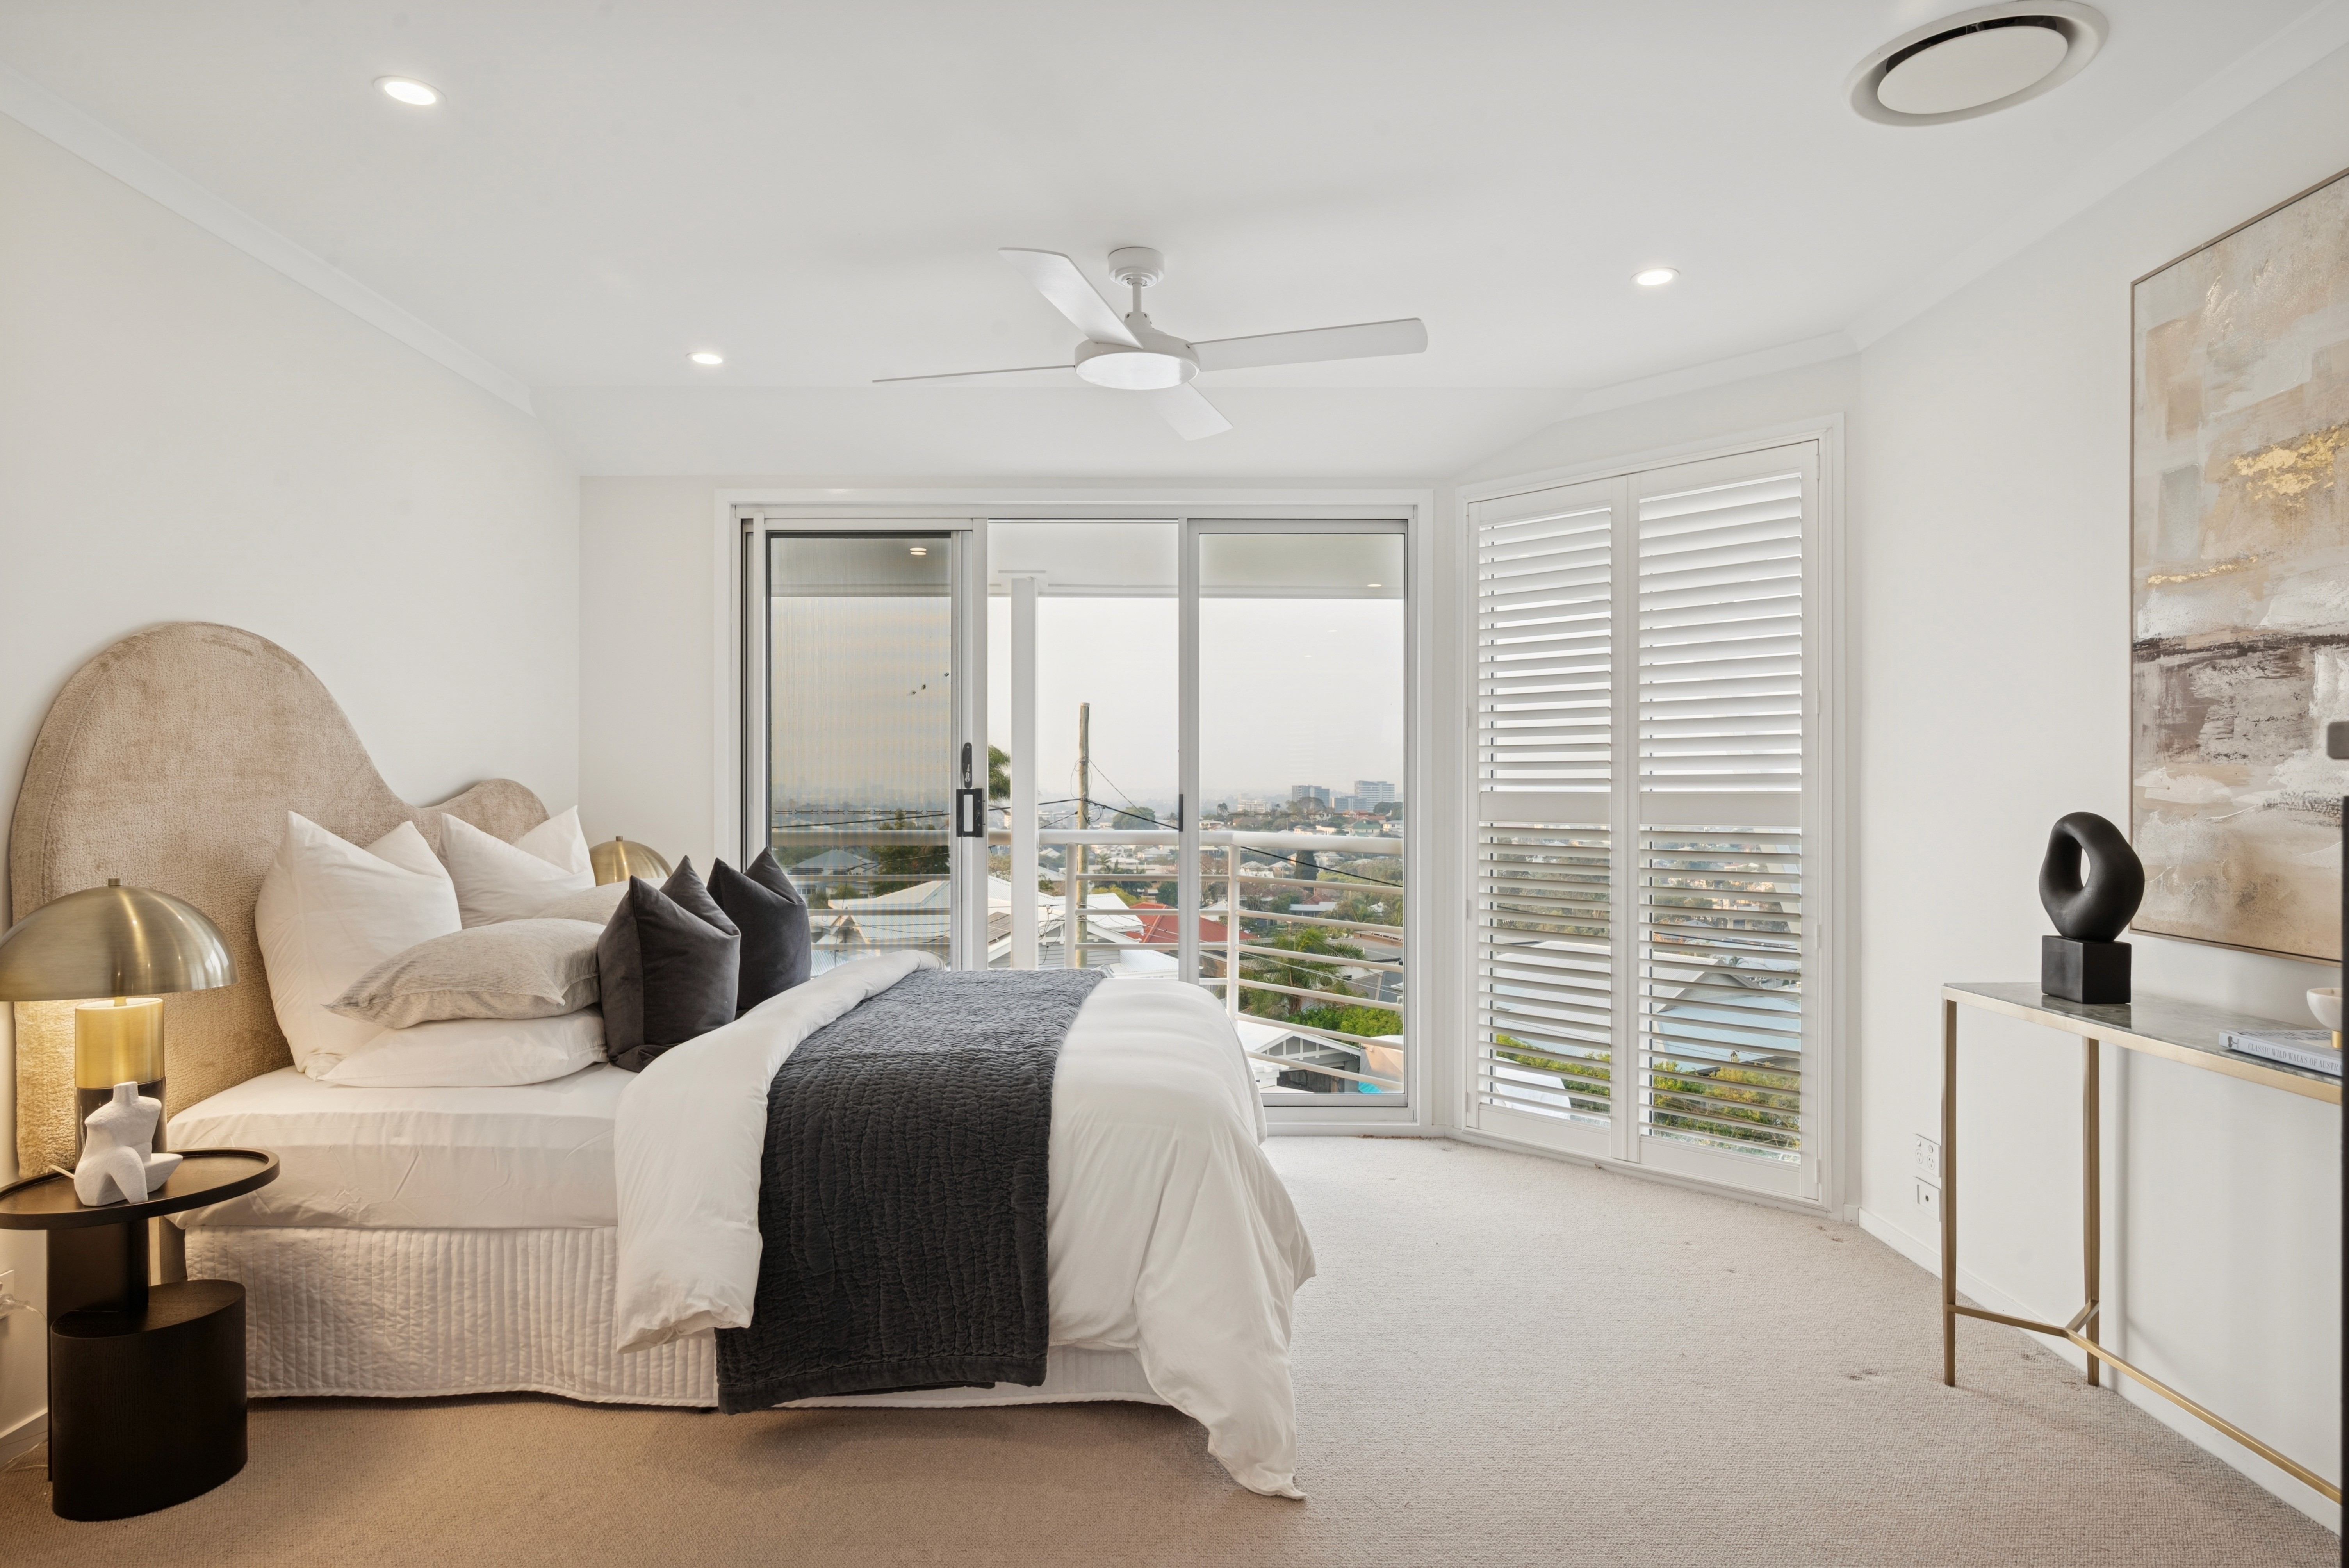
Real Estate Listing Photo Preparation by Imagelife
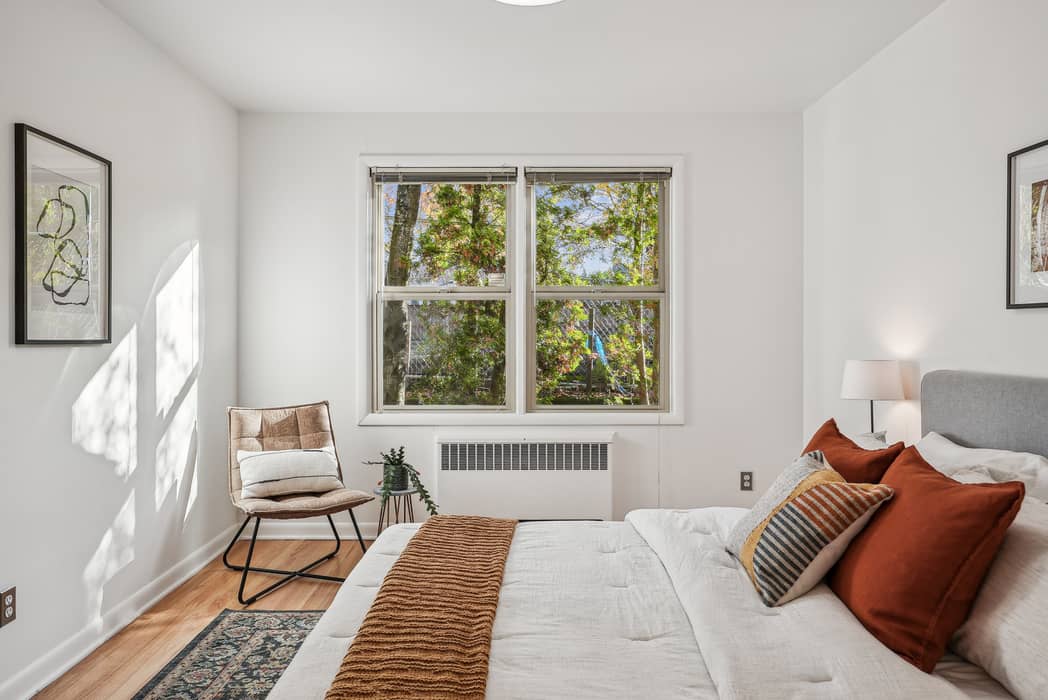
Great listing photos are prepared long before they are edited. The way you shoot, the files you send and the edit you choose all decide how fast you get listing-ready photos back, and how good they look. This guide walks through real estate listing photo preparation step by step, from the shoot to the download.
Why listing photo preparation matters
Editing can balance light, fix color and remove distractions, but it works best with good input. Consistent input leads to consistent output. A few minutes of preparation saves time on every order and keeps a whole listing looking like one shoot.
Step 1: Shoot with the edit in mind
Choose the exposure setup that fits the light in the room:
- Single exposure: set the aperture to f/8 or f/9 and ISO between 100 and 400, and adjust only the shutter speed. Ideal for exteriors and evenly lit interiors.
- 3-exposure bracketing: an underexposed, a correctly exposed and an overexposed shot, merged into one HDR image. Ideal for bright windows, sunrise and sunset.
- 5-exposure bracketing: −2, −1, 0, +1 and +2 stops for smoother transitions and more detail. Ideal for high-end homes and complex light.
Step 2: Send the right files
Compressed RAW or DNG is the recommended format. It gives an excellent balance between image quality and file size. JPEG works for web and social sharing, but it discards some image data and can cost detail. For floor plans, draw all sketches on one page and send them as a JPG or PDF. Hand-drawn sketches and technical blueprints both work, and the result is only as accurate as the sketch.
Step 3: Choose the right edit
- AI-Only Service from $0.40 per photo: fully automated, back in under 40 minutes, 24/7. Revisions and extra instructions aren’t possible.
- Premium Core at $0.90 per photo: expert editors refine color, light and shadow by hand. Ideal for smaller properties.
- Premium Plus at $1.20 per photo: adds cleaner, brighter whites plus sky replacement, green grass, fireplace and TV screens, and sign and license plate blur. Ideal for most properties.
- Diamond at $3.00 per photo: rigorous QC and local editing on every image, detailed window pulls and any 10 of the 18 most common retouching options.
Step 4: Add finishing touches
Twilight Editing from $2.00 per photo blends your dusk exposures by hand. Virtual Twilight at $5.00 per photo turns an edited daytime exterior JPG into a dusk scene, so no RAW files, night photos or drone shots. Retouching comes in three levels: Standard from $1.00, Advanced at $10.00 and Extreme at $25.00 per photo.
Step 5: Plan around delivery times
AI-Only orders are delivered within 40 minutes, around the clock. Expert Editing takes 12 hours, or 6 hours with express delivery on Premium Core and Premium Plus for +$0.10 per photo. Your photos stay in your Imagelife account for 15 days, so download them within that time. When an order is delivered, all rights to the edited photos are yours.
Listing photo preparation checklist
- Pick single, 3 or 5 exposures to match the light.
- Shoot at f/8 to f/9 and ISO 100 to 400.
- Upload compressed RAW or DNG files.
- Choose AI-Only for speed or Expert Editing for revisions and retouching.
- Add twilight or retouching where the listing needs it.
- Download your edits within 15 days.
Want more detail? Visit our Learning Hub for shooting tips, file types and a glossary of editing terms, or create a free account and upload your first shoot.